There’s something undeniably magical about homemade ice cream especially when it’s packed with the rich, caramelized flavor of Biscoff cookies. This easy Biscoff Ice Cream recipe combines a handful of simple ingredients to create a creamy, indulgent dessert that tastes like it came straight from your favorite ice cream shop.
The best part? It’s incredibly easy to make at home.
Simple Ingredients, Incredible Flavor
One of the reasons I love this recipe is that it relies on just a few ingredients, yet delivers amazing flavor in every bite.
Heavy Whipping Cream The foundation of this ice cream, creating a rich and velvety texture.
Vanilla Extract A splash of vanilla enhances the flavor and adds warmth to the overall sweetness.
Sweetened Condensed Milk This provides the perfect amount of sweetness while helping create a smooth, creamy consistency. You can even use a dairy-free version if needed.
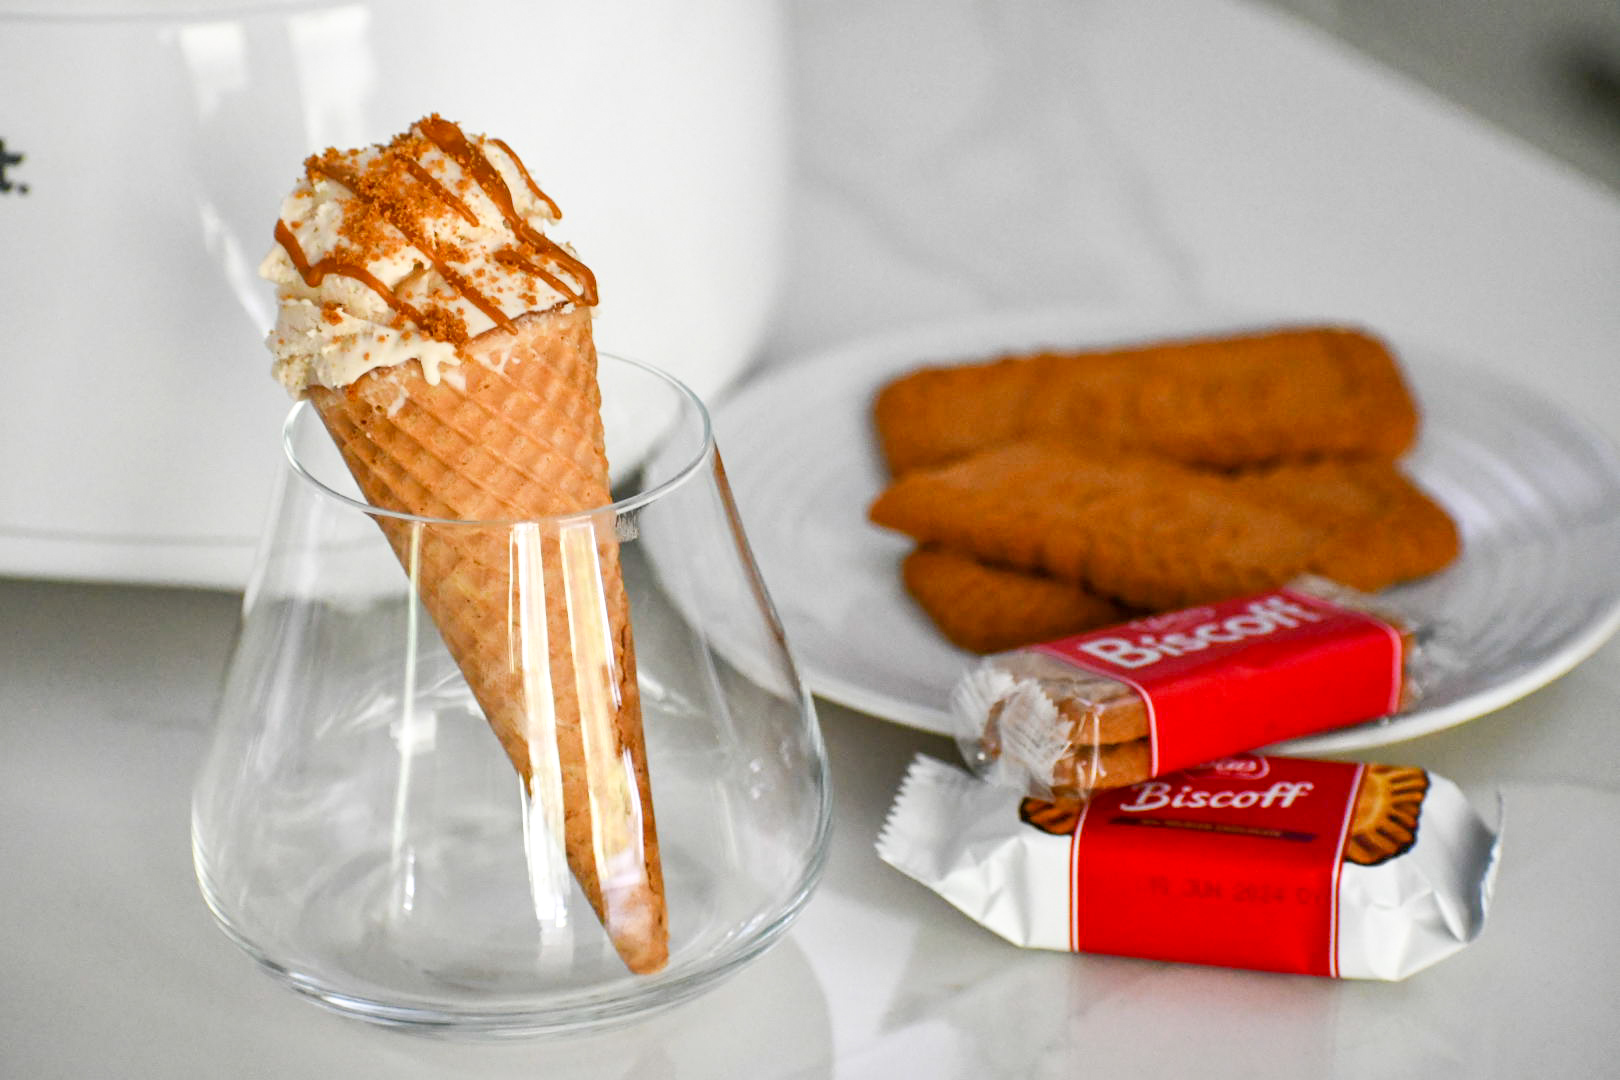
Biscoff Spread The star ingredient. It melts beautifully into the base, giving every scoop that signature caramelized cookie flavor.
Crushed Biscoff Cookies Folded into the ice cream for texture, crunch, and even more Biscoff goodness.
Why We Love Biscoff
If you’ve ever had a Biscoff cookie with your coffee, you already know how special they are. Originating in Belgium, Biscoff cookies are known for their distinctive caramelized flavor with subtle notes of cinnamon and warm spices.
When blended into ice cream, those cozy flavors become even more irresistible. The result is a dessert that’s rich, comforting, and just sophisticated enough to feel a little extra special.
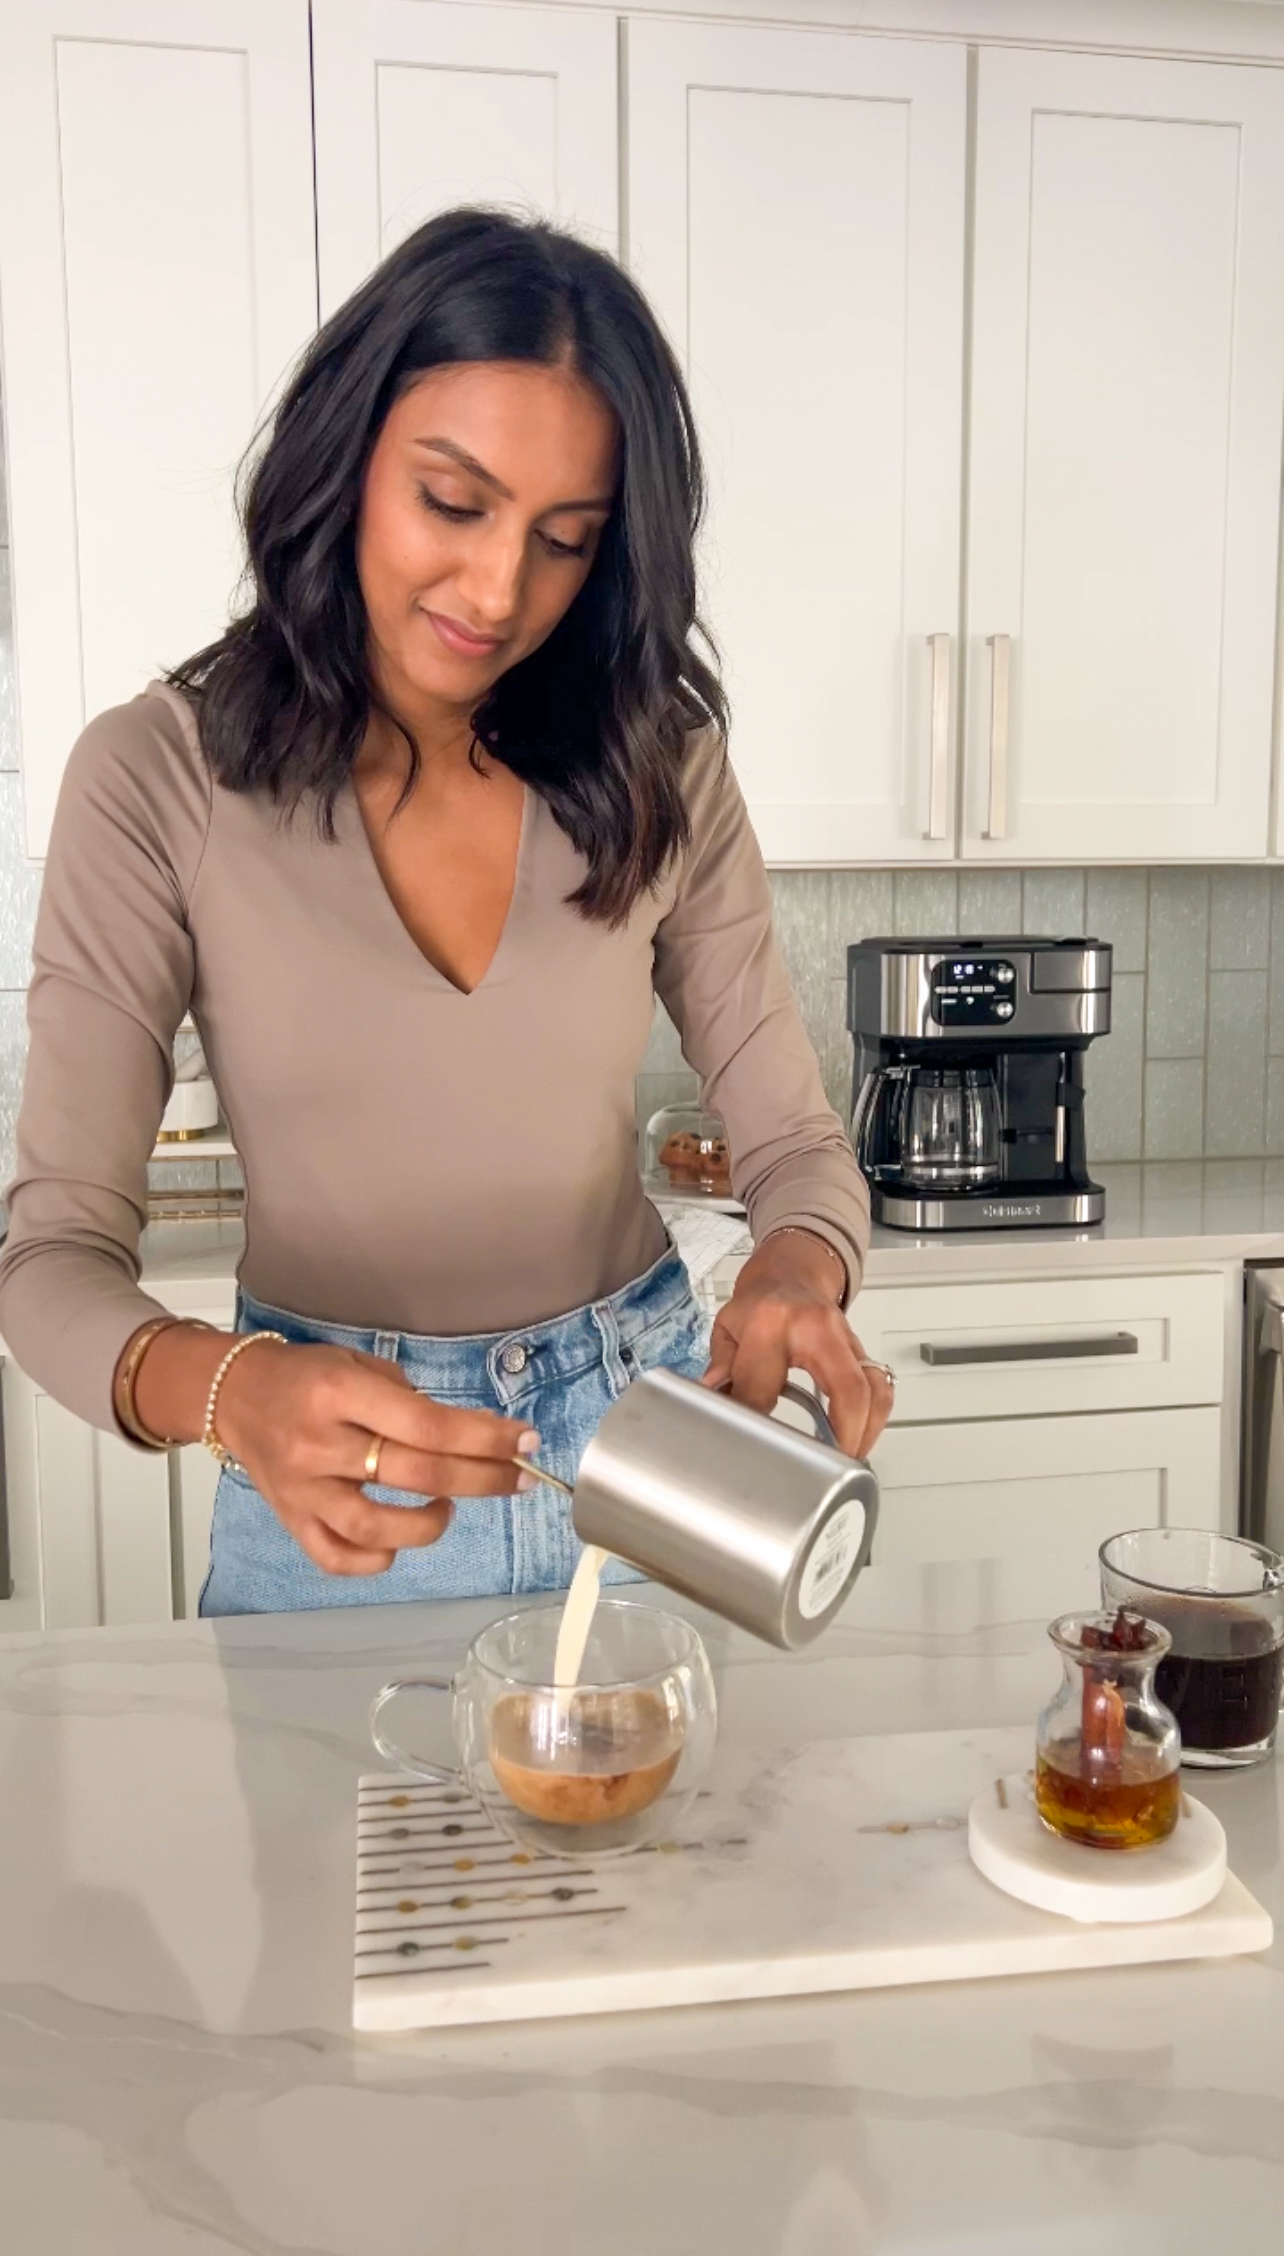
I recently started making homemade ice cream with the Cuisinart Automatic 1.5-Quart Frozen Yogurt, Ice Cream & Sorbet Maker, and I can honestly say it has been one of my favorite kitchen purchases.
Why I Love It
Easy to Use Simply freeze the double-insulated bowl ahead of time, add your ingredients, turn on the machine, and let it do the work.
No Ice or Salt Required Unlike traditional ice cream makers, there’s no messy setup. The frozen bowl keeps everything cold while the machine churns.
Fast Results In about 10–15 minutes, you’ll have freshly churned ice cream ready to enjoy.
As someone who loves ice cream year-round, this little machine has saved me an embarrassing amount of money on ice cream runs. It’s become one of those kitchen gadgets I find myself reaching for again and again.
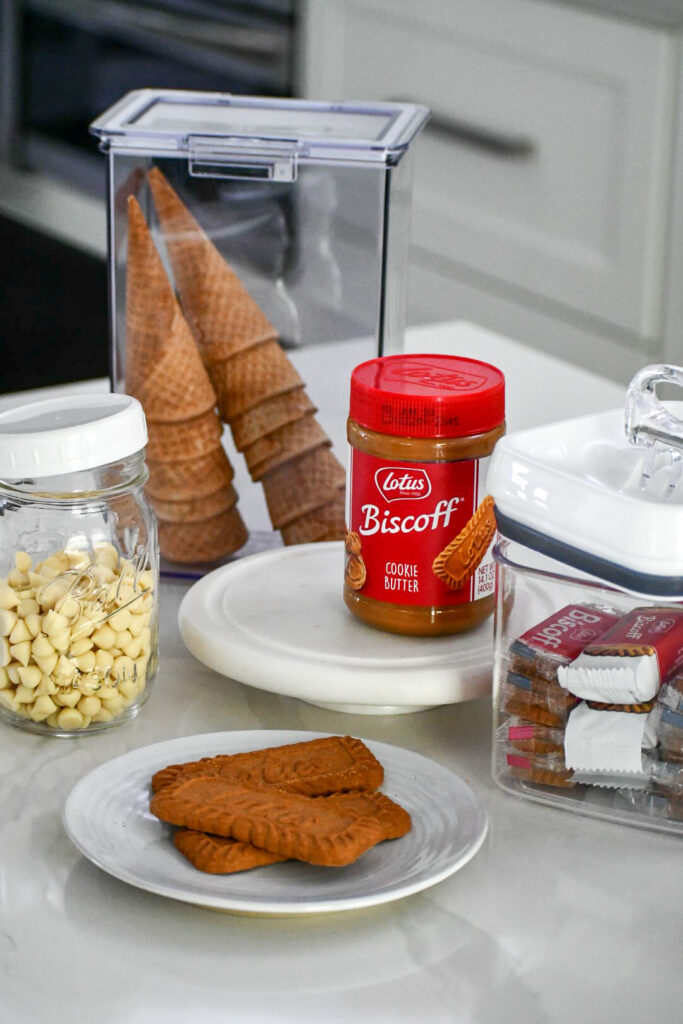
My Favorite Storage Solution
Once the ice cream is made, proper storage makes all the difference.
I’ve been using freezer safe containers to store both the finished ice cream and my favorite toppings. They help keep everything organized, fresh, and easy to grab whenever a craving strikes. I also love using them for storing Biscoff cookies, chocolate chips, and other baking essentials.
And if you’re someone who loves ice cream cones, specialized cone storage containers are a game changer. They help prevent cones from getting crushed and keep them fresh until you’re ready to enjoy them.
How to Make Biscoff Ice Cream
1. Freeze the Bowl
Make sure your ice cream maker bowl has been frozen according to the manufacturer’s instructions.
2. Mix the Ingredients
In a large bowl, combine the heavy whipping cream, vanilla extract, sweetened condensed milk, and Biscoff spread. Whisk until smooth and fully incorporated.
3. Churn
Pour the mixture into the frozen ice cream maker bowl and start the machine.
4. Add the Cookies
As the mixture thickens, add the crushed Biscoff cookies and allow them to mix throughout the ice cream.
5. Scoop and Enjoy
After about 10–15 minutes, you’ll have a creamy, delicious batch of homemade Biscoff Ice Cream ready to enjoy.
For a firmer texture, transfer the ice cream to a freezer-safe container and freeze for an additional 1–2 hours before serving.
The Perfect Homemade Treat
Homemade Biscoff Ice Cream is one of those desserts that feels impressive but couldn’t be easier to make. It’s rich, creamy, packed with cookie butter flavor, and guaranteed to disappear quickly.
Whether you’re making it for a summer gathering, a family movie night, or simply because you’re craving something sweet, this recipe is sure to become a favorite.
Making homemade ice cream has never been easier, thanks to the Cuisinart Automatic 1.5 Qt Frozen Yogurt-Ice Cream & Sorbet Maker from Walmart. This gadget has quickly become my kitchen favorite for several reasons:
Ease of Use: Simply freeze the double walled bowl for a few hours, add your ingredients, attach the mixing paddle, and turn it on. It’s that simple!
No Mess: Unlike traditional ice cream makers, there’s no need for salt or ice. The double walled bowl keeps everything cold and contained.
Speed: In under 12 minutes, you can have creamy, delicious ice cream ready to enjoy. Perfect for those moments when a craving hits!
Whether you like a sugar ice cream cone or in a cup, these containers are seriously the best at storing ice cream cones or anything with a delicate shape without crushing them and getting stale. Along with those containers I also have purchased a few smaller and larger containers to store the biscoff cookies and to store my chocolate chips!!
1 cup biscoff spread (microwave for 30 seconds and divided in half)
1/3 cup biscoff cookies
1/4 cup white chocolate chips
Instructions
Into the ice cream machine add the heavy whipping cream, vanilla extract and sweetened condensed milk.
Turn it on and let everything mix for 2-3 mins. Next add 1/2 cup of the melted biscoff spread and white chocolate chips. Let everything mix until it all combines and forms into ice cream.
Transfer half of the mixture into a bread loaf pan and drizzle the remaining biscoff spread, layer with the remaining ice cream on top and add the crushed biscoff cookies.
Serve with additional topping such as crushed biscoff cookies, melted biscoff spread or chocolate syrup. Freeze if you’re not planning on eating right away.
Just an East/West coast girl living the southern life. I love sharing all my tested and perfected recipes here, along with some travel guides and a little bit of my lifestyle